Skip to content
Refinishing a table might seem like a tricky task, but regardless of your DIY know how we are going to tell you everything you need to know. By the end of this post you are gonna be a pro at refinishing and surfacing furniture.
Tools and Materials Needed
1. Stain
There are plenty of options out there, but our #1 choice for furniture stain is Minwax Wood Finish Stain. It comes in 28 different colors and makes any reclaimed table look brand new. It’s also our top choice because it is budget friendly.
2. Polycrylic
To compliment your stain, stick with Minwax for your polyurethane is a great option. The Minwax Polycrylic is an easy choice to protect your stain once it has been applied.
3. Staining Brush
The next piece of equipment you need to decide on is your brush. We recommend the Wooster Bravo Staining Brush. It comes in a few different sizes, so you can select the width of the brush depending on the size of your table. A good place to start is with the 4 inch width brush. You can order on Amazon or find them at your local home improvement store.
4. Sander/Sandpaper
Please save yourself multiple headaches, sore hands, and time wasting with manual sanding. Treat yourself to an orbital sander to do the hard work for you. No one deserves to be sanding by hand for hours on end during a project that should be fun. It’s hard to go wrong with Black + Decker equipment, plus this 5-inch sander is a good choice for beginners.
For the sandpaper itself, buying 100-grit, 150, and 200-grit options on hand will keep you ready for each stage of the sanding process regardless of the condition of your table.
5. Rags and Tack Cloth
The last things you will need is something to protect the room you will be staining in and wipe off any spills that occur. If you are already nearing your budget, you can substitute rags with old t-shirts and towels are good alternatives that will help your workspace clean and splatter free.
We do recommend buying tack clothes and not going cheap in that area. A tack cloth is specifically designed to collect loose particles which makes them perfect to clean your table after sanding.
Have a few extra questions? Woodsmith Spirit covers more commonly asked questions in their post here.
Refinishing Steps
In our example, we will refinish an oak kitchen table:
1. Clean the table as thoroughly as you can. If there is grease, dirt, or any residue on the table before you begin sanding it will be ground into the would. For the best finish, make sure your start clean.
2. Once the table is clean, break out your sander with the 100-grit sandpaper attached. Sand the entire table to remove all of the old stain. From the table top to the legs, leave no inch unsanded. Removing the old finish is vital before moving forward, but be sure to stay slow and controlled so you don’t gouge the wood in some areas.
3. When you have the table sanded with the 100-grit paper, do the same thing with the 150-grip paper. Making a second pass can ensure the wood is the same level of smooth in all areas. You guessed it, do one last pass with the 220-grit sandpaper before hanging up your sander. After 3 passes, you should have a completely stripped table that is read for a new coat of stain.
4. Clear your table off with tack clothes to remove any loose particles and dirt that may have settled on your table during sanding. Making a few passes to ensure no dust is on your table before staining is a MUST.
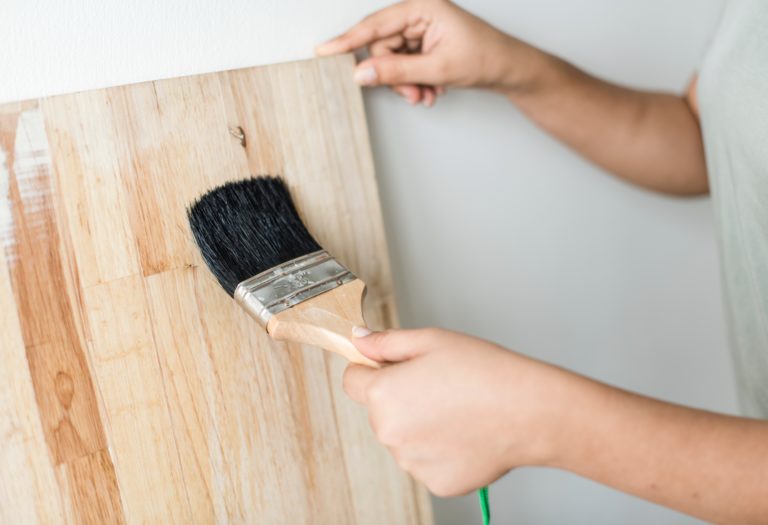
5. Time to apply the stain. A general rule of thumb to follow is stain with the natural grain of the wood, not against it or across it. Another rule is to apply the stain liberally. You can’t over do the table with too much stain since most of the first coat will soak up very quickly. Once you have stained the whole table, let it sit for 5-10 minutes before wiping any excess stain off.
6. Once the stain has dried, wipe the table down again with a tack cloth to remove any dirt or dust that latched itself onto the recently applied stain. Once clean, it is time for coat two. Make sure your brush strokes are long and controlled to make your table’s appearance smooth and consistent. Repeat your coats until the stain is at your desired shade.
7. After your final coat of stain has dried, apply your polyurethane evenly. Each type of polyurethane has different suggestions for use, so be sure to check your can’s label before applying. Dining tables get a lot of use, so 3-5 coats of polyurethane is great number to shoot for to help your newly refinished table last longer.